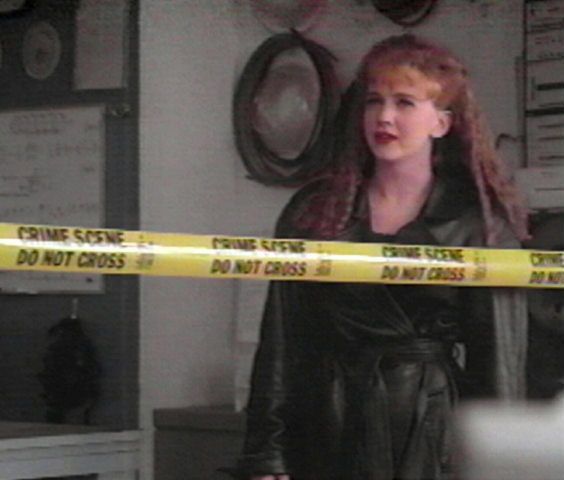
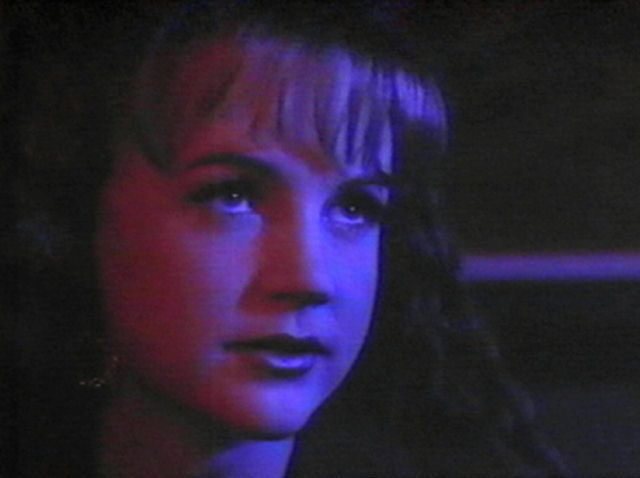
 | Laurie surveys her brother's lab after his death |
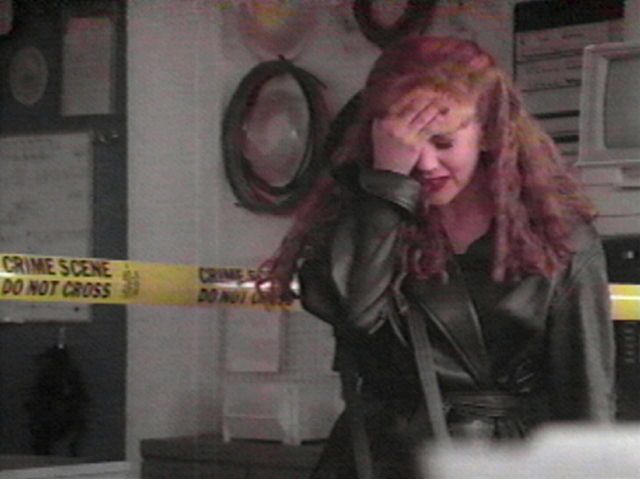 | Her emotions get the better of her |
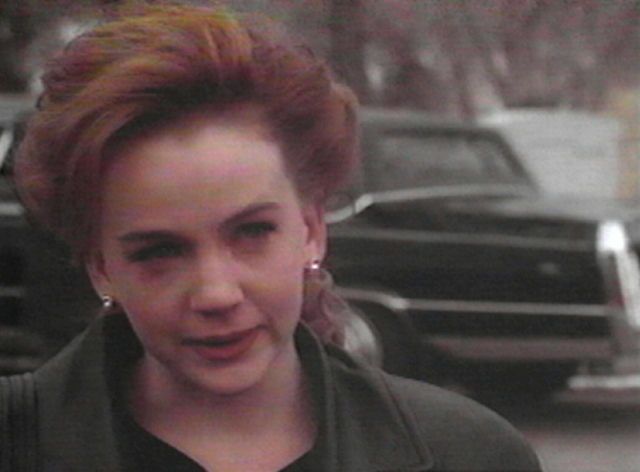
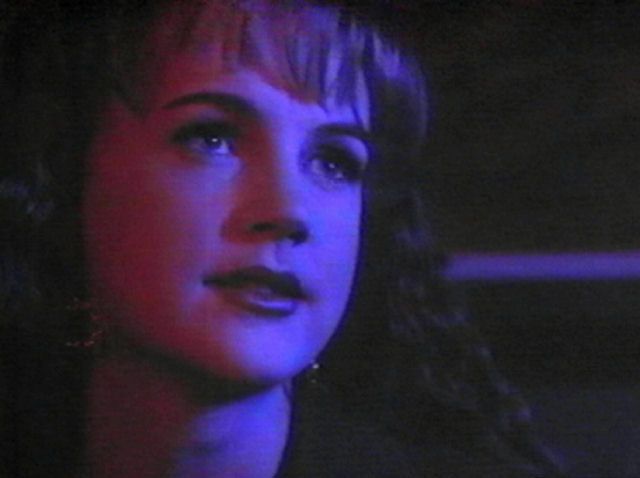
 | Showing that classic ROC smile in a broken picture |
 | At David's funeral |
 | Again at her brother's funeral |
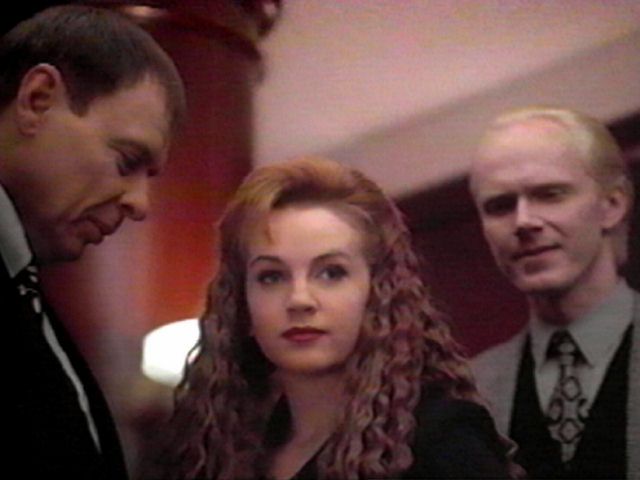
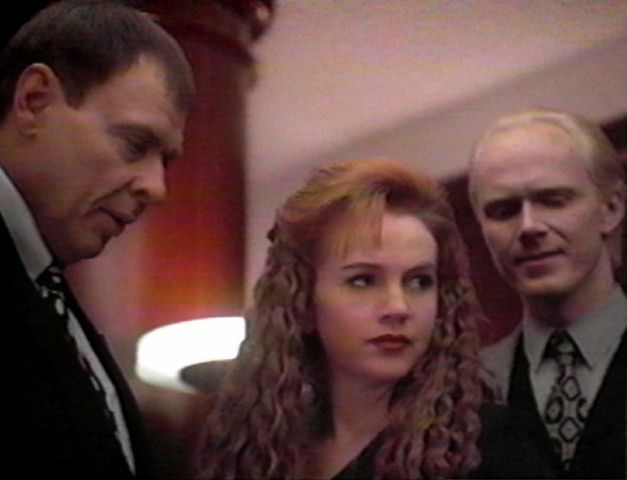
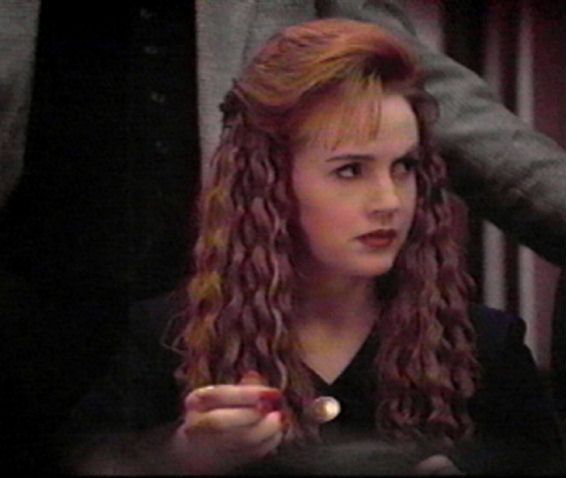
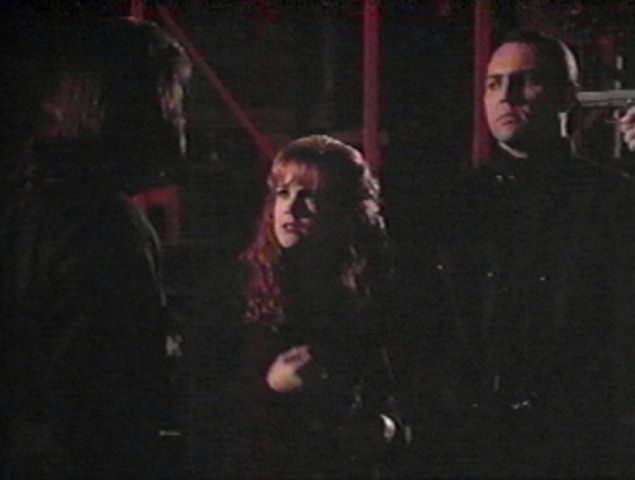
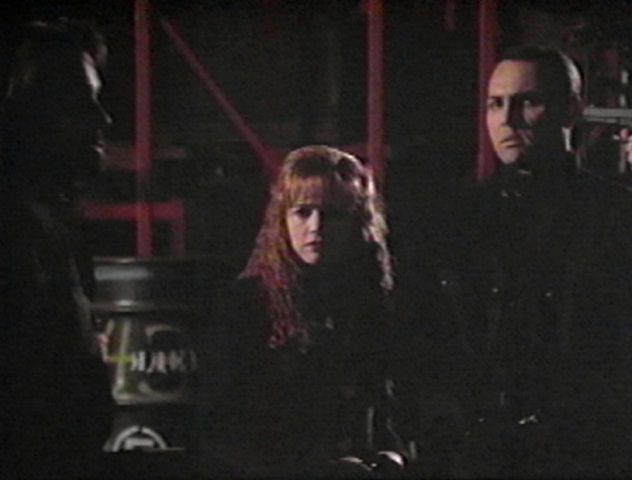
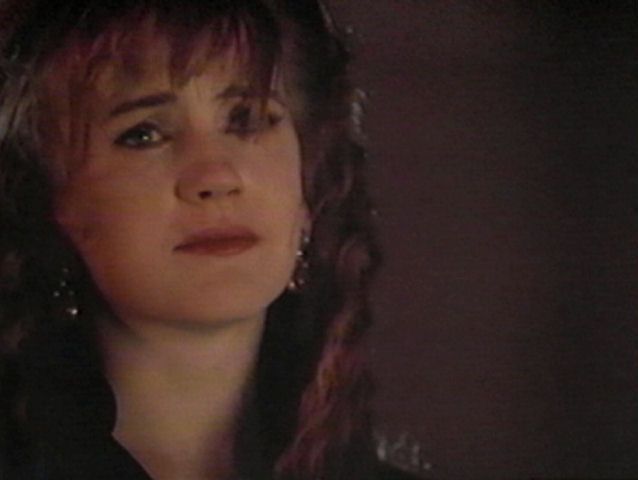
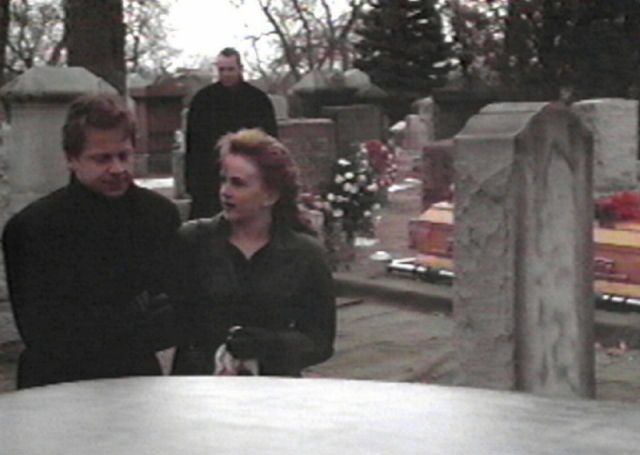 | Laurie talks with one of Durant's men as Dr. Westlake looks on in the background |
 | She doesn't yet know he's a bad guy |
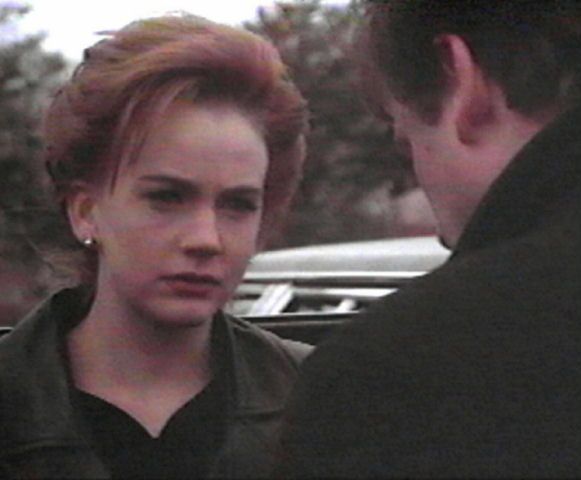 | She's been mourning her brother |
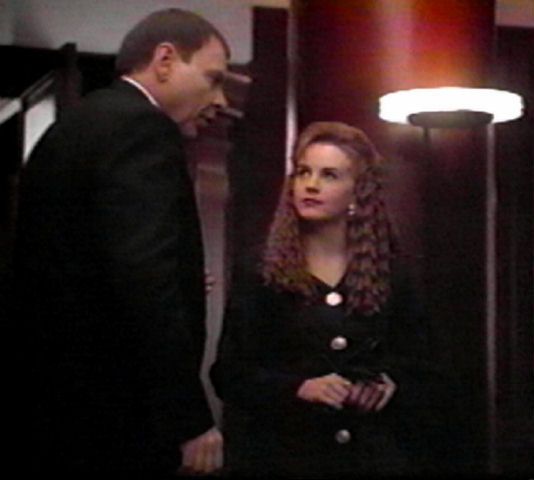
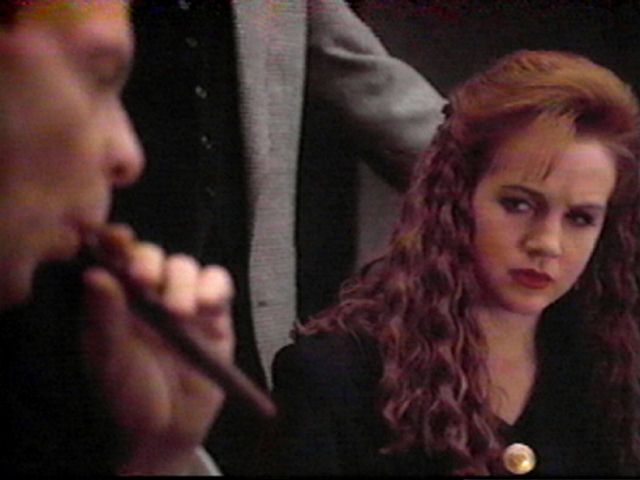
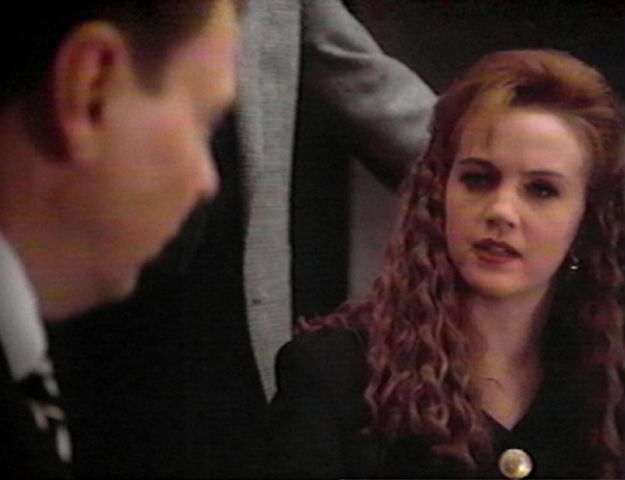
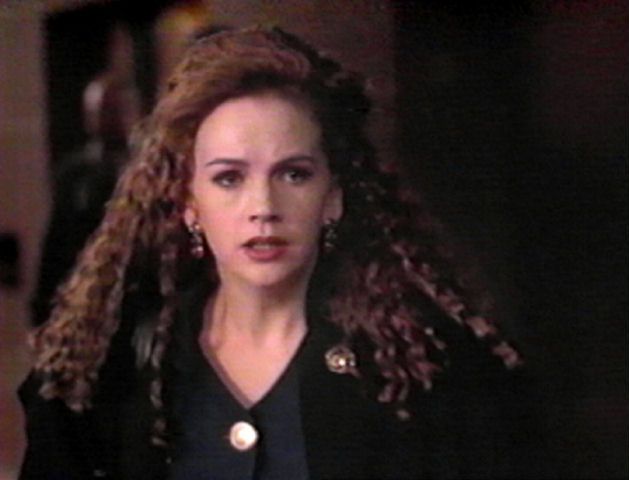
 | Dr. Westlake confronts Laurie at work |
 | He's trying to convince her that David was killed by Durant |
 | Of course she doesn't believe him |
 | She's just gonna have to learn the hard way |
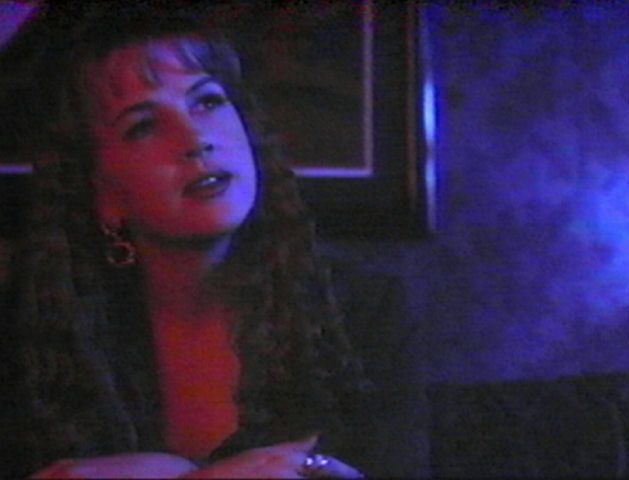
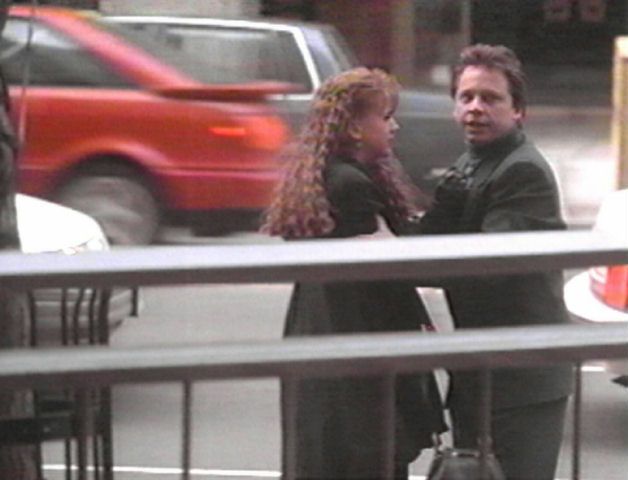
 | Laurie meets Durant at the meeting to sell the building |
 | She seems confident she's doing the right thing |
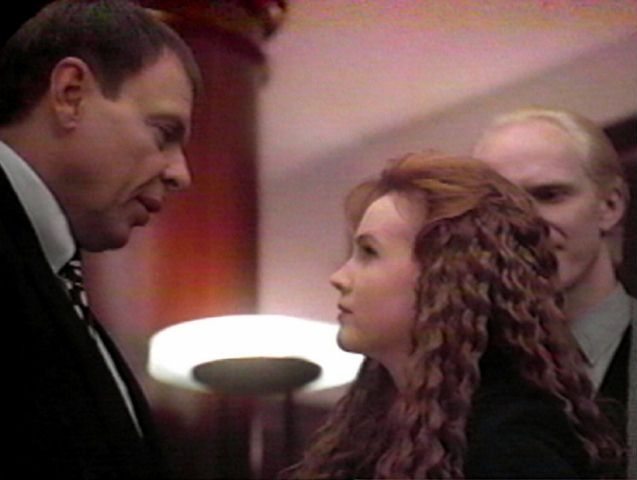 | Durant feeds her some more bull |
 | She wonders why there are so many thugs in the room |
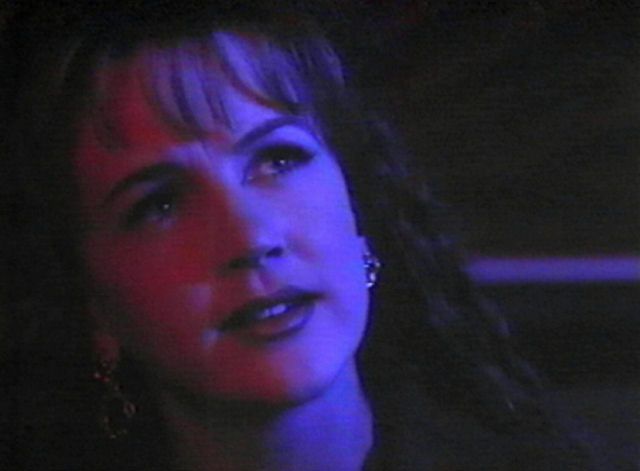
 | Laurie begins to worry about her business partners |
 | She realizes that Durant is the infamous finger chopper |
 | She confronts him about his motives in wanting the building |
 | About to sign the deal, she thinks twice about it |
 | Finally Laurie backs out of the deal |
 | She runs because she knows these guys are killers |
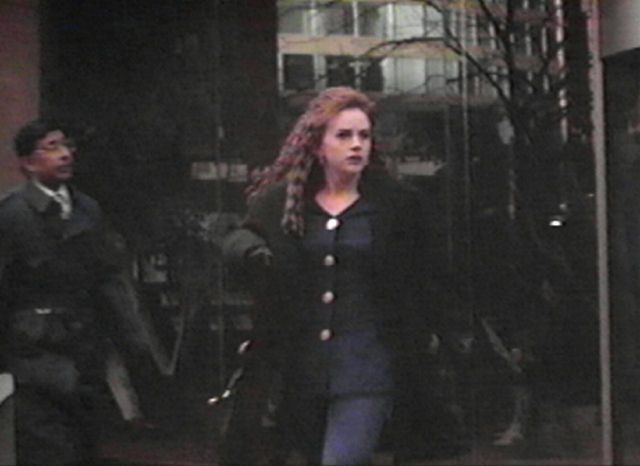 | But can she get away before they catch up to her? |
 | Taxi! She needs a taxi, and fast! |
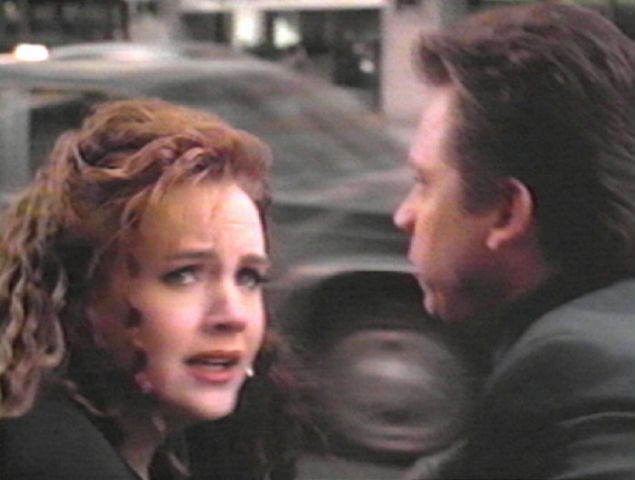 | One of the bad guys catches up, but it's Darkman in disguise |
 | Darkman has no time to explain the truth about himself |
 | He stuffs Laurie in a cab to try to save her |
 | It doesn't work and Durant captures her |
 | Laurie is shackled in a chair at Durant's hideout |
 | She struggles with one of her captors |
 | (my favorite picture out of all these, that's why it here) |
 | Told she's going to be used for target practice |
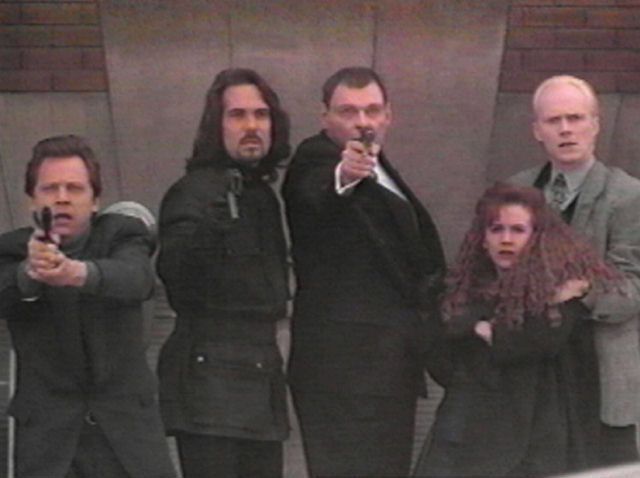
 | Laurie, with Dr. Westlake, tries to resist the bad guy |
 | They face the weapon to be used against them |
 | Laurie and Dr. Westlake take cover after an escape attempt |
 | There's lots of shooting going on out there |
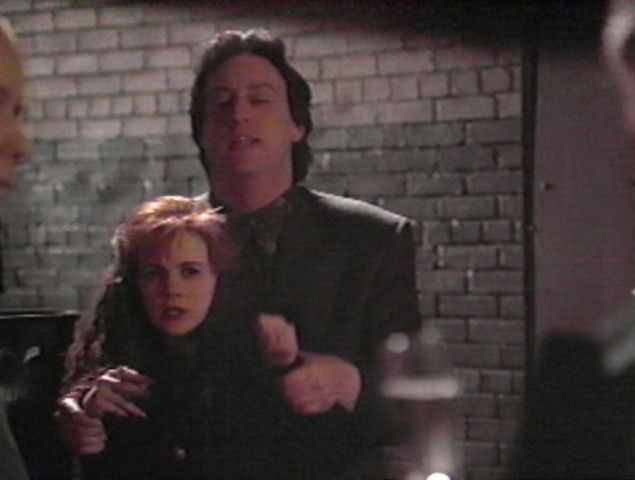
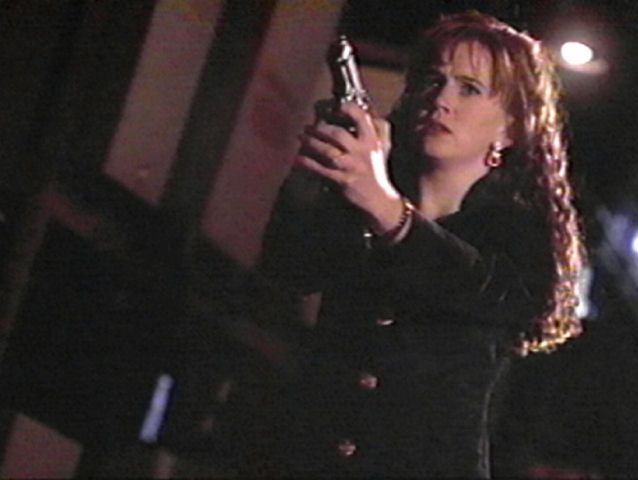 | Laurie hesitantly draws a weapon |
 | You gotta ask yourself, do you feel lucky, punk? |
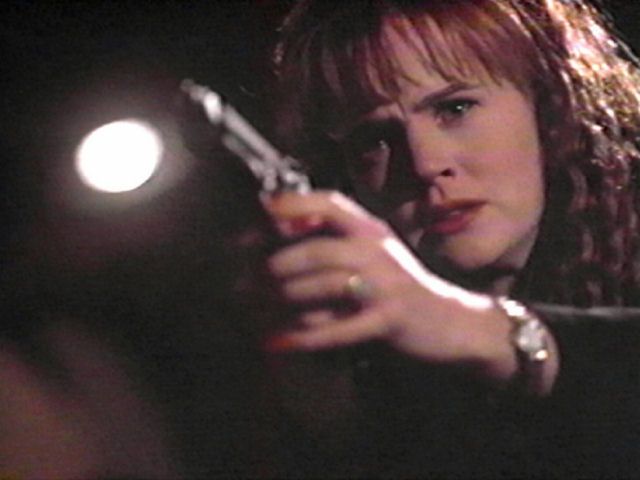
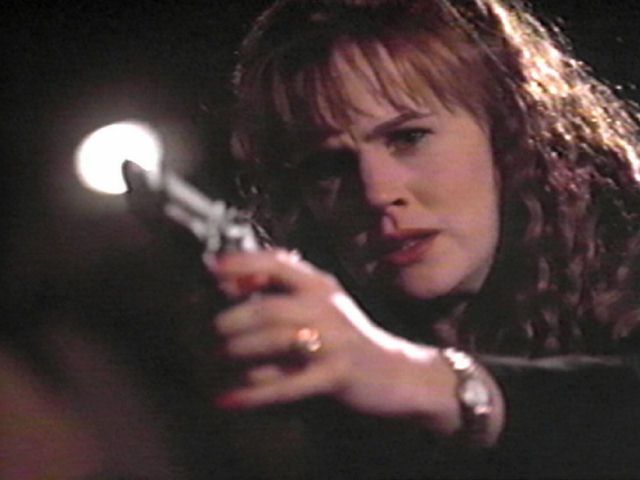 | Ready to blast Durant into the hereafter |
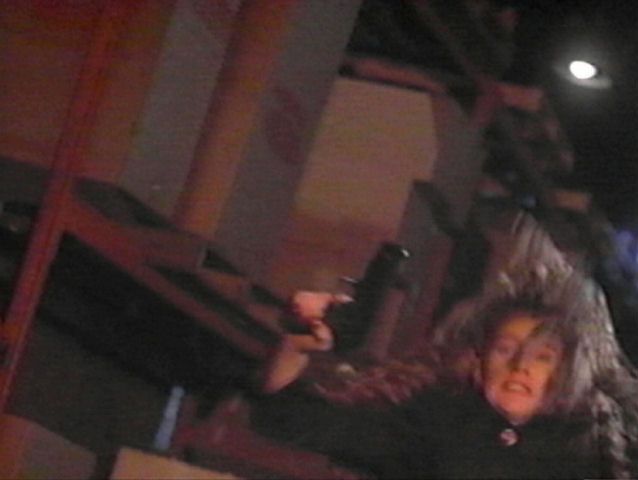 | Laurie is knocked back by the force of an explosion |
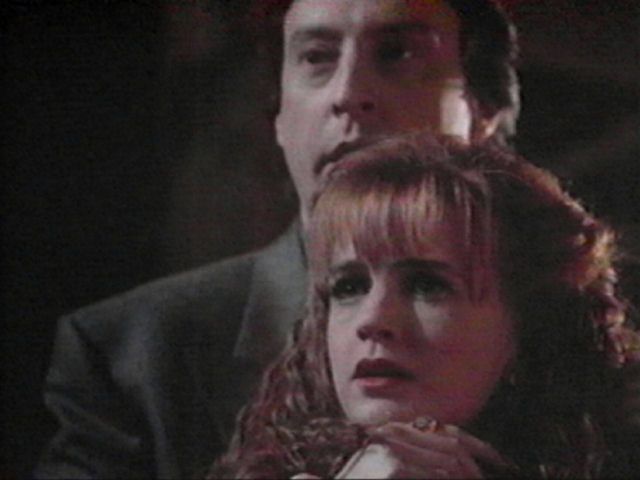
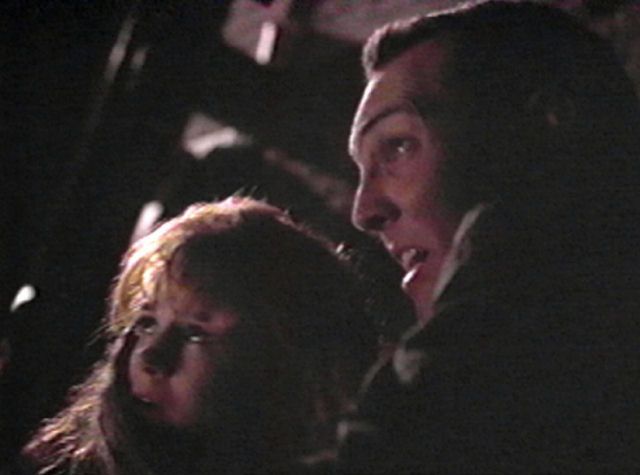
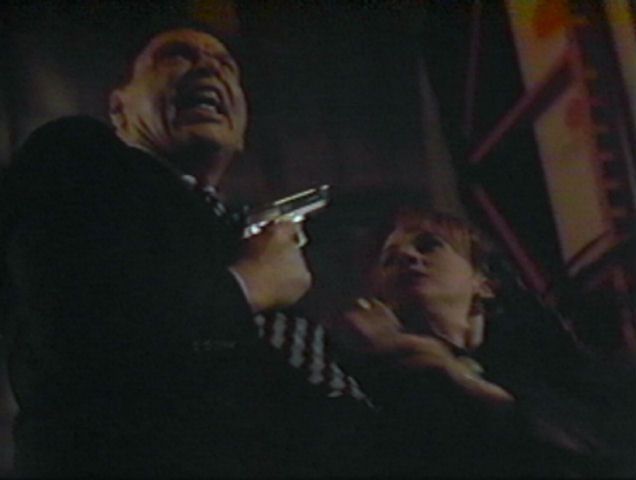 | Caught again by Durant as he yells out at Darkman |
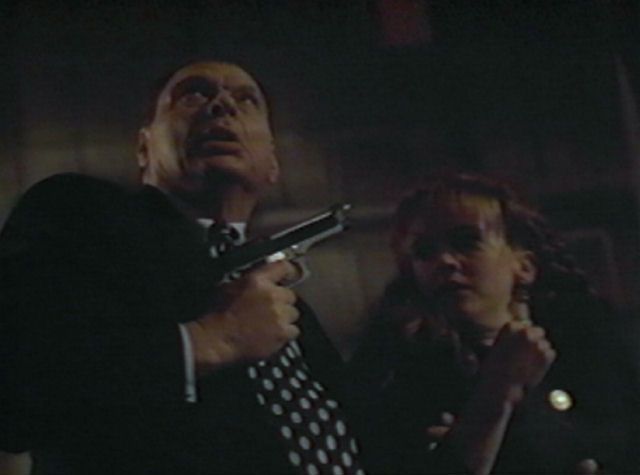 | Durant is listening for clues to where Darkman is hiding |
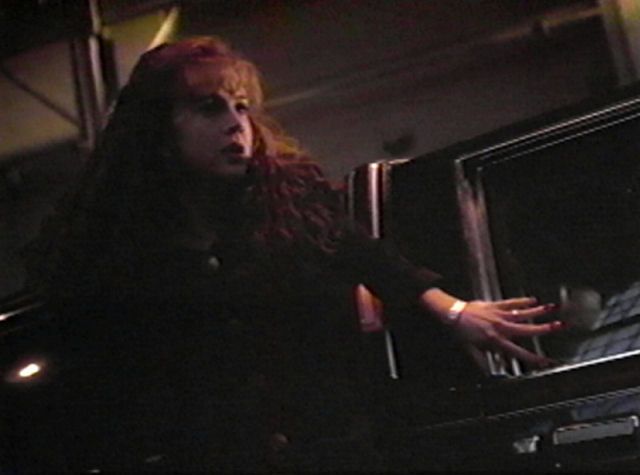 | Laurie makes her escape! Hooray! |
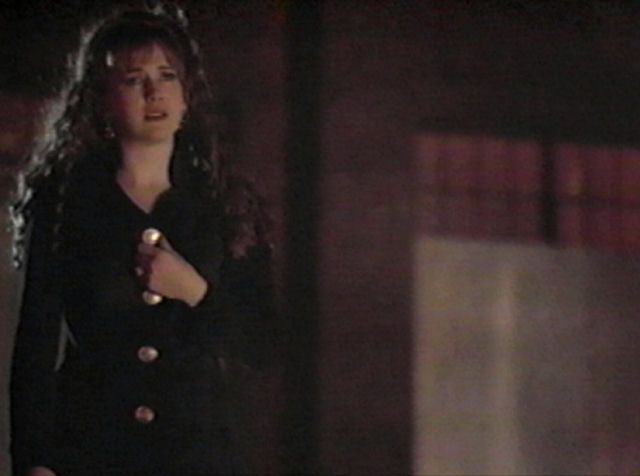
 | She sees Dr. Westlake as he really is, Darkman |
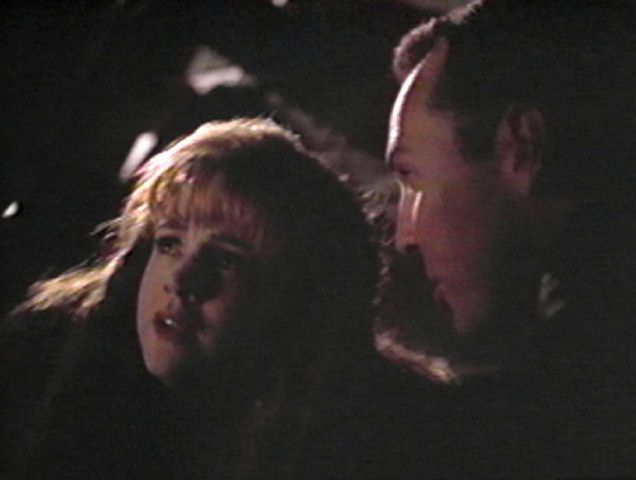
 | Darkman explains his connection with Durant to Laurie |
 | Laurie thanks Darkman and says her goodbye as he leaves |